
2. Setting up Fastly IO
Let's get started by picking up where we left off in Introduction to Fastly's CDN. At that end of that tutorial, we had a fully-functional website (Taco Labs) configured to use the Fastly CDN. You can use the same Fastly service and configuration as a starting point for this tutorial.
NOTE: We've made some changes you should know about. Specifically, we've:
- Duplicated our Fastly service configuration to a new service
- Forked the Taco Labs code and created a new branch to update the website
- Created a new Amazon S3 bucket
- Added a new domain (
io.tacolabs.com) with the associated DNS records in Route 53 - Provisioned a new TLS certificate for the domain
We did this to keep our settings and code discrete, but there's no reason you can't continue using the same Fastly service and domain you used throughout the Introduction to Fastly's CDN tutorial. Just remember to use your existing domain instead of io.tacolabs.com.
Enabling Fastly IO for your account
NOTE: This step assumes you've been assigned the role of superuser.
It's time to enable Fastly IO for our account. Fastly IO is included with your use of Fastly up to certain limits. For more information, refer to the billing details.
Let's log in to the Fastly web interface and go to Account > Billing > Products. Locate Fastly IO from the list of products and click Purchase. Read through the pricing and purchase details, fill out relevant billing information, then click Purchase now. The enablement process begins, which may require a short wait while Fastly processes your request.
Once you've enabled Fastly IO for your account, you have the choice of when to enable it for a particular service.
Enabling Fastly IO on a specific service
You can enable Fastly IO at any time from the Image Optimizer page in the service configuration. When we enable the Image Optimizer in the Fastly web interface, we're making immediate changes to the service we're enabling it on that will impact all service versions, including the active one.
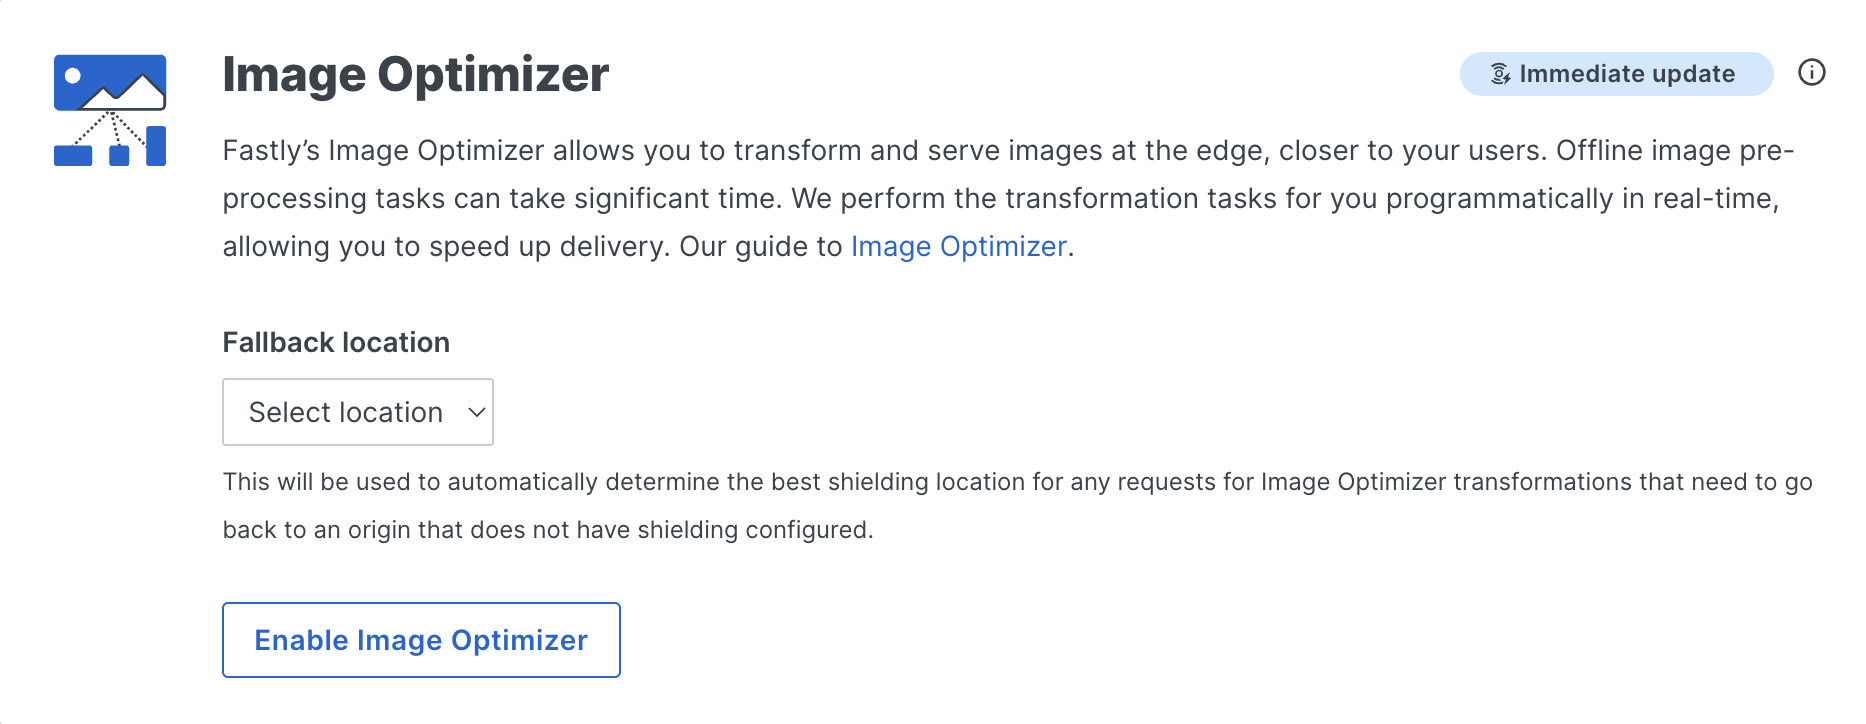
To enable Fastly IO, you'll first need to enable shielding. Using shielding with Fastly IO helps ensure that the original images are only transformed once, which in turn reduces latency and the number of required origin fetches.
To enable shielding, use the Fallback location menu to select the geographic location closest to the origin where your images are stored. This will help determine the optimal shield location for any requests for Image Optimizer transformations that need to go back to an origin that doesn't have shielding enabled.
HINT: If you followed along with Introduction to Fastly's CDN, you've already enabled shielding for your service. Select us-east-2 as the fallback location.
Once you select your fallback location, click Enable Image Optimizer, and you should be ready to go. The default settings will appear on the Fastly IO page, as shown below.
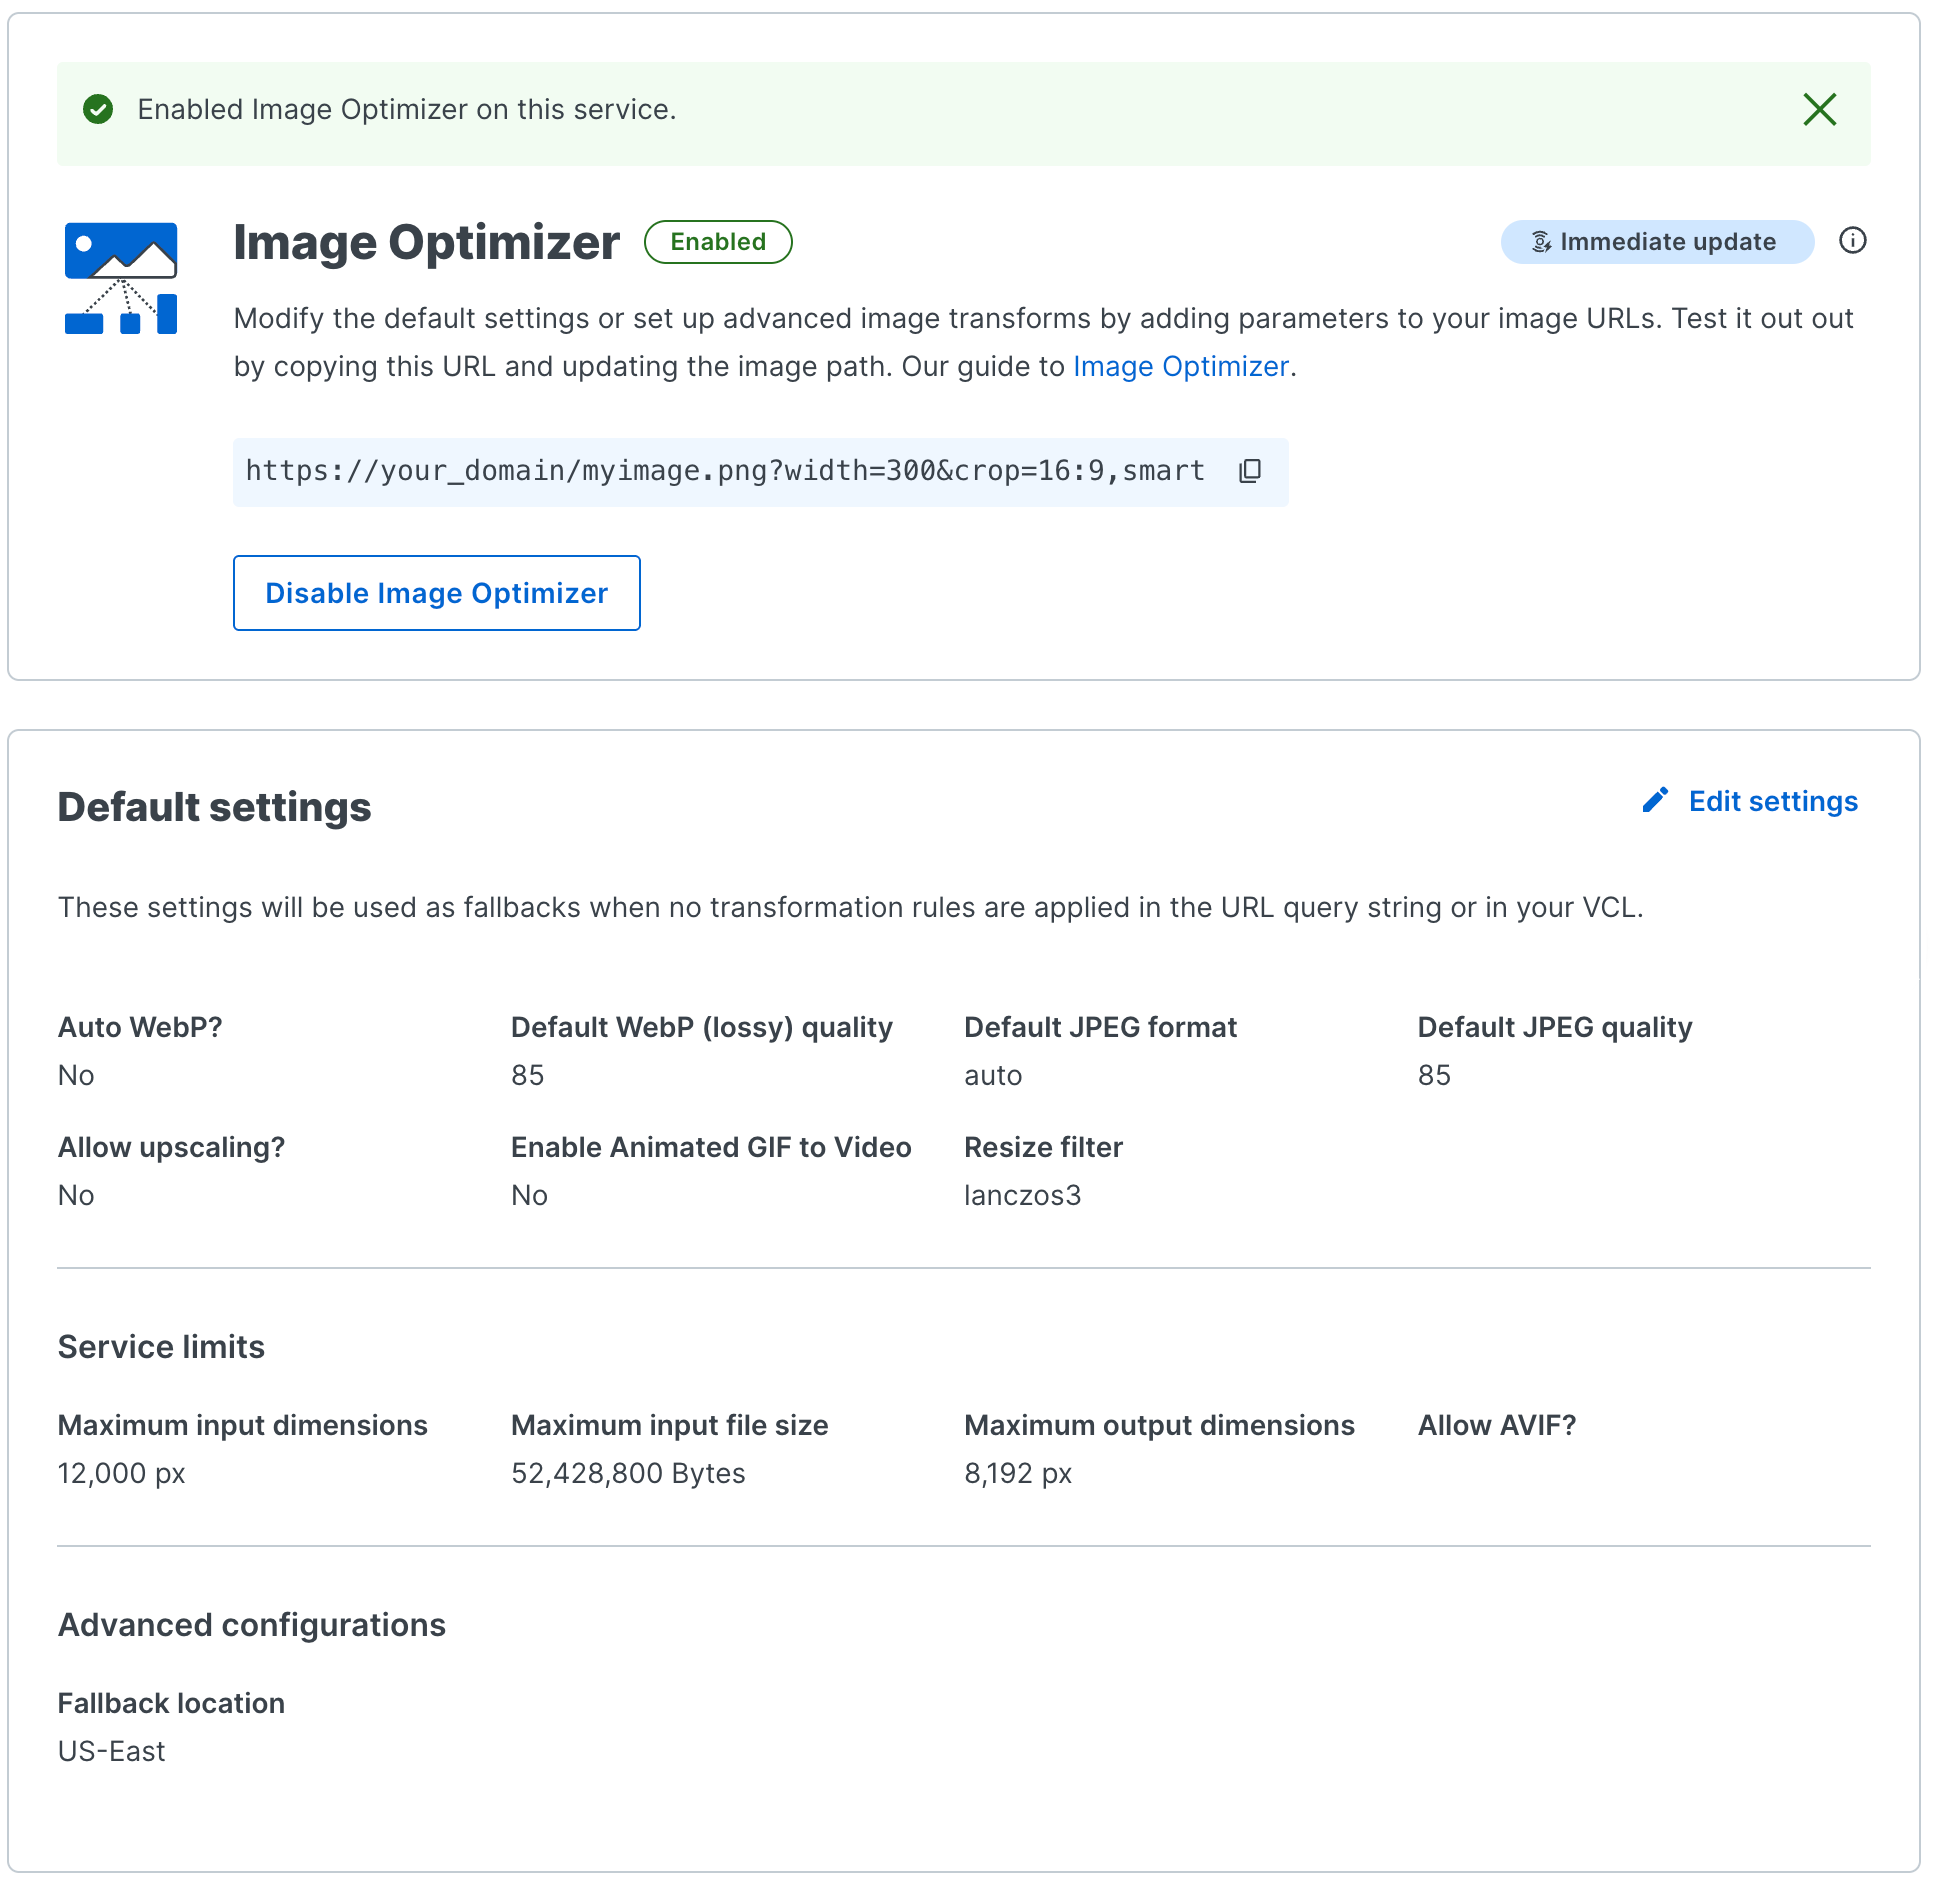
We'll talk about these settings later when we customize them for Taco Labs. For now, just know that when you see these settings in the Fastly web interface, you can rest assured that Fastly IO is enabled.
Verifying that Fastly IO is working
Now that we've enabled Fastly IO, we can check to see if Fastly IO is working for our service:
$ curl -sI "https://io.tacolabs.com/assets/tacos.jpeg?width=200"This command loads an image from the Taco Labs website and resizes it using Fastly IO. The ?width=200 parameter tells Fastly IO to resize the image's width to 200 pixels. We'll see the following in the output:
fastly-io-info: ifsz=98106 idim=720x467 ifmt=jpeg ofsz=12494 odim=200x130 ofmt=jpegIf everything's working, the output of the terminal command will contain the image dimensions (odim) and the width will be set to 200. Fastly IO is enabled for our service and ready to start transforming our images!
